Written by Jane Hames
Lists of data are often received in a format that is not ideal for the work that needs to be carried out with it. One example of this is when you have first name and surname in one cell, where you really need the information to be in two separate cells.
A quick and easy (when you know how) solution is the Text to Columns feature and the following tutorial describes how to do it.
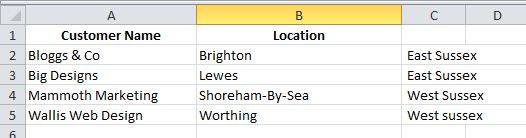
- Start with data something like this. Here, I want the town and county to be in separate cells:

- Select the cells in the column to be split.
- From the Data tab, click on the Text To Columns button.
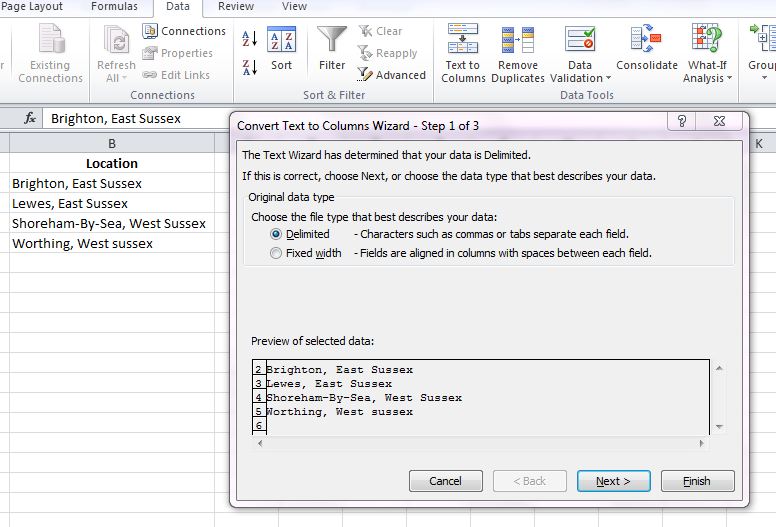
- If the split is to happen where there is a space, comma, tab or other character, then choose Delimited. If the split is to happen at a fixed point in each cell, then select Fixed Width
- Click on the Next button.
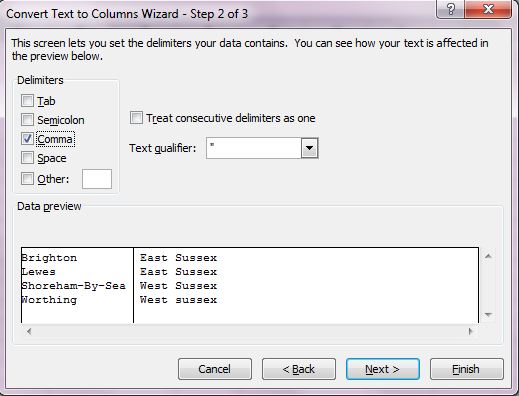
- For delimited text, select the Delimiter. For fixed width, click where the split should be.
- Click on the Next button.
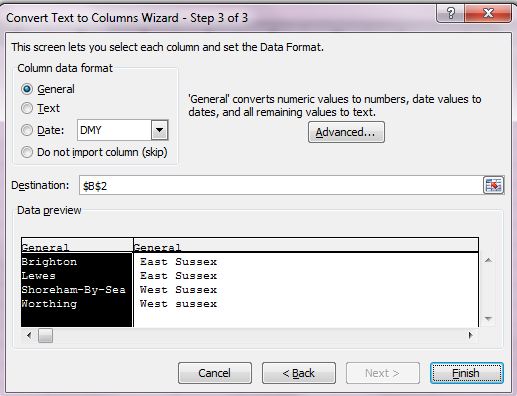
- Select the Destination cell (this should the starting point for the text once it has been split, a bit like you would do when preparing to paste copied data).
- Click in Finish and this is what I end up with, all ready for me to be able analyse my customers by town and by county: