Written by Jane Hames
In Microsoft Word, Headers and Footers are a great way of being able to set the same information to appear at the top and bottom of every page in the document. Common examples of this are the page number, date, company name, copyright, titles or file location.
If you need to have a different header or footer in different parts of the document, you will have to set up sections. If you have done this you are likely to know that it can be very frustrating getting the header and footer right in each section. You may even have cried, or worse, given up all together!
Try following my recommended process for getting it right more quickly:
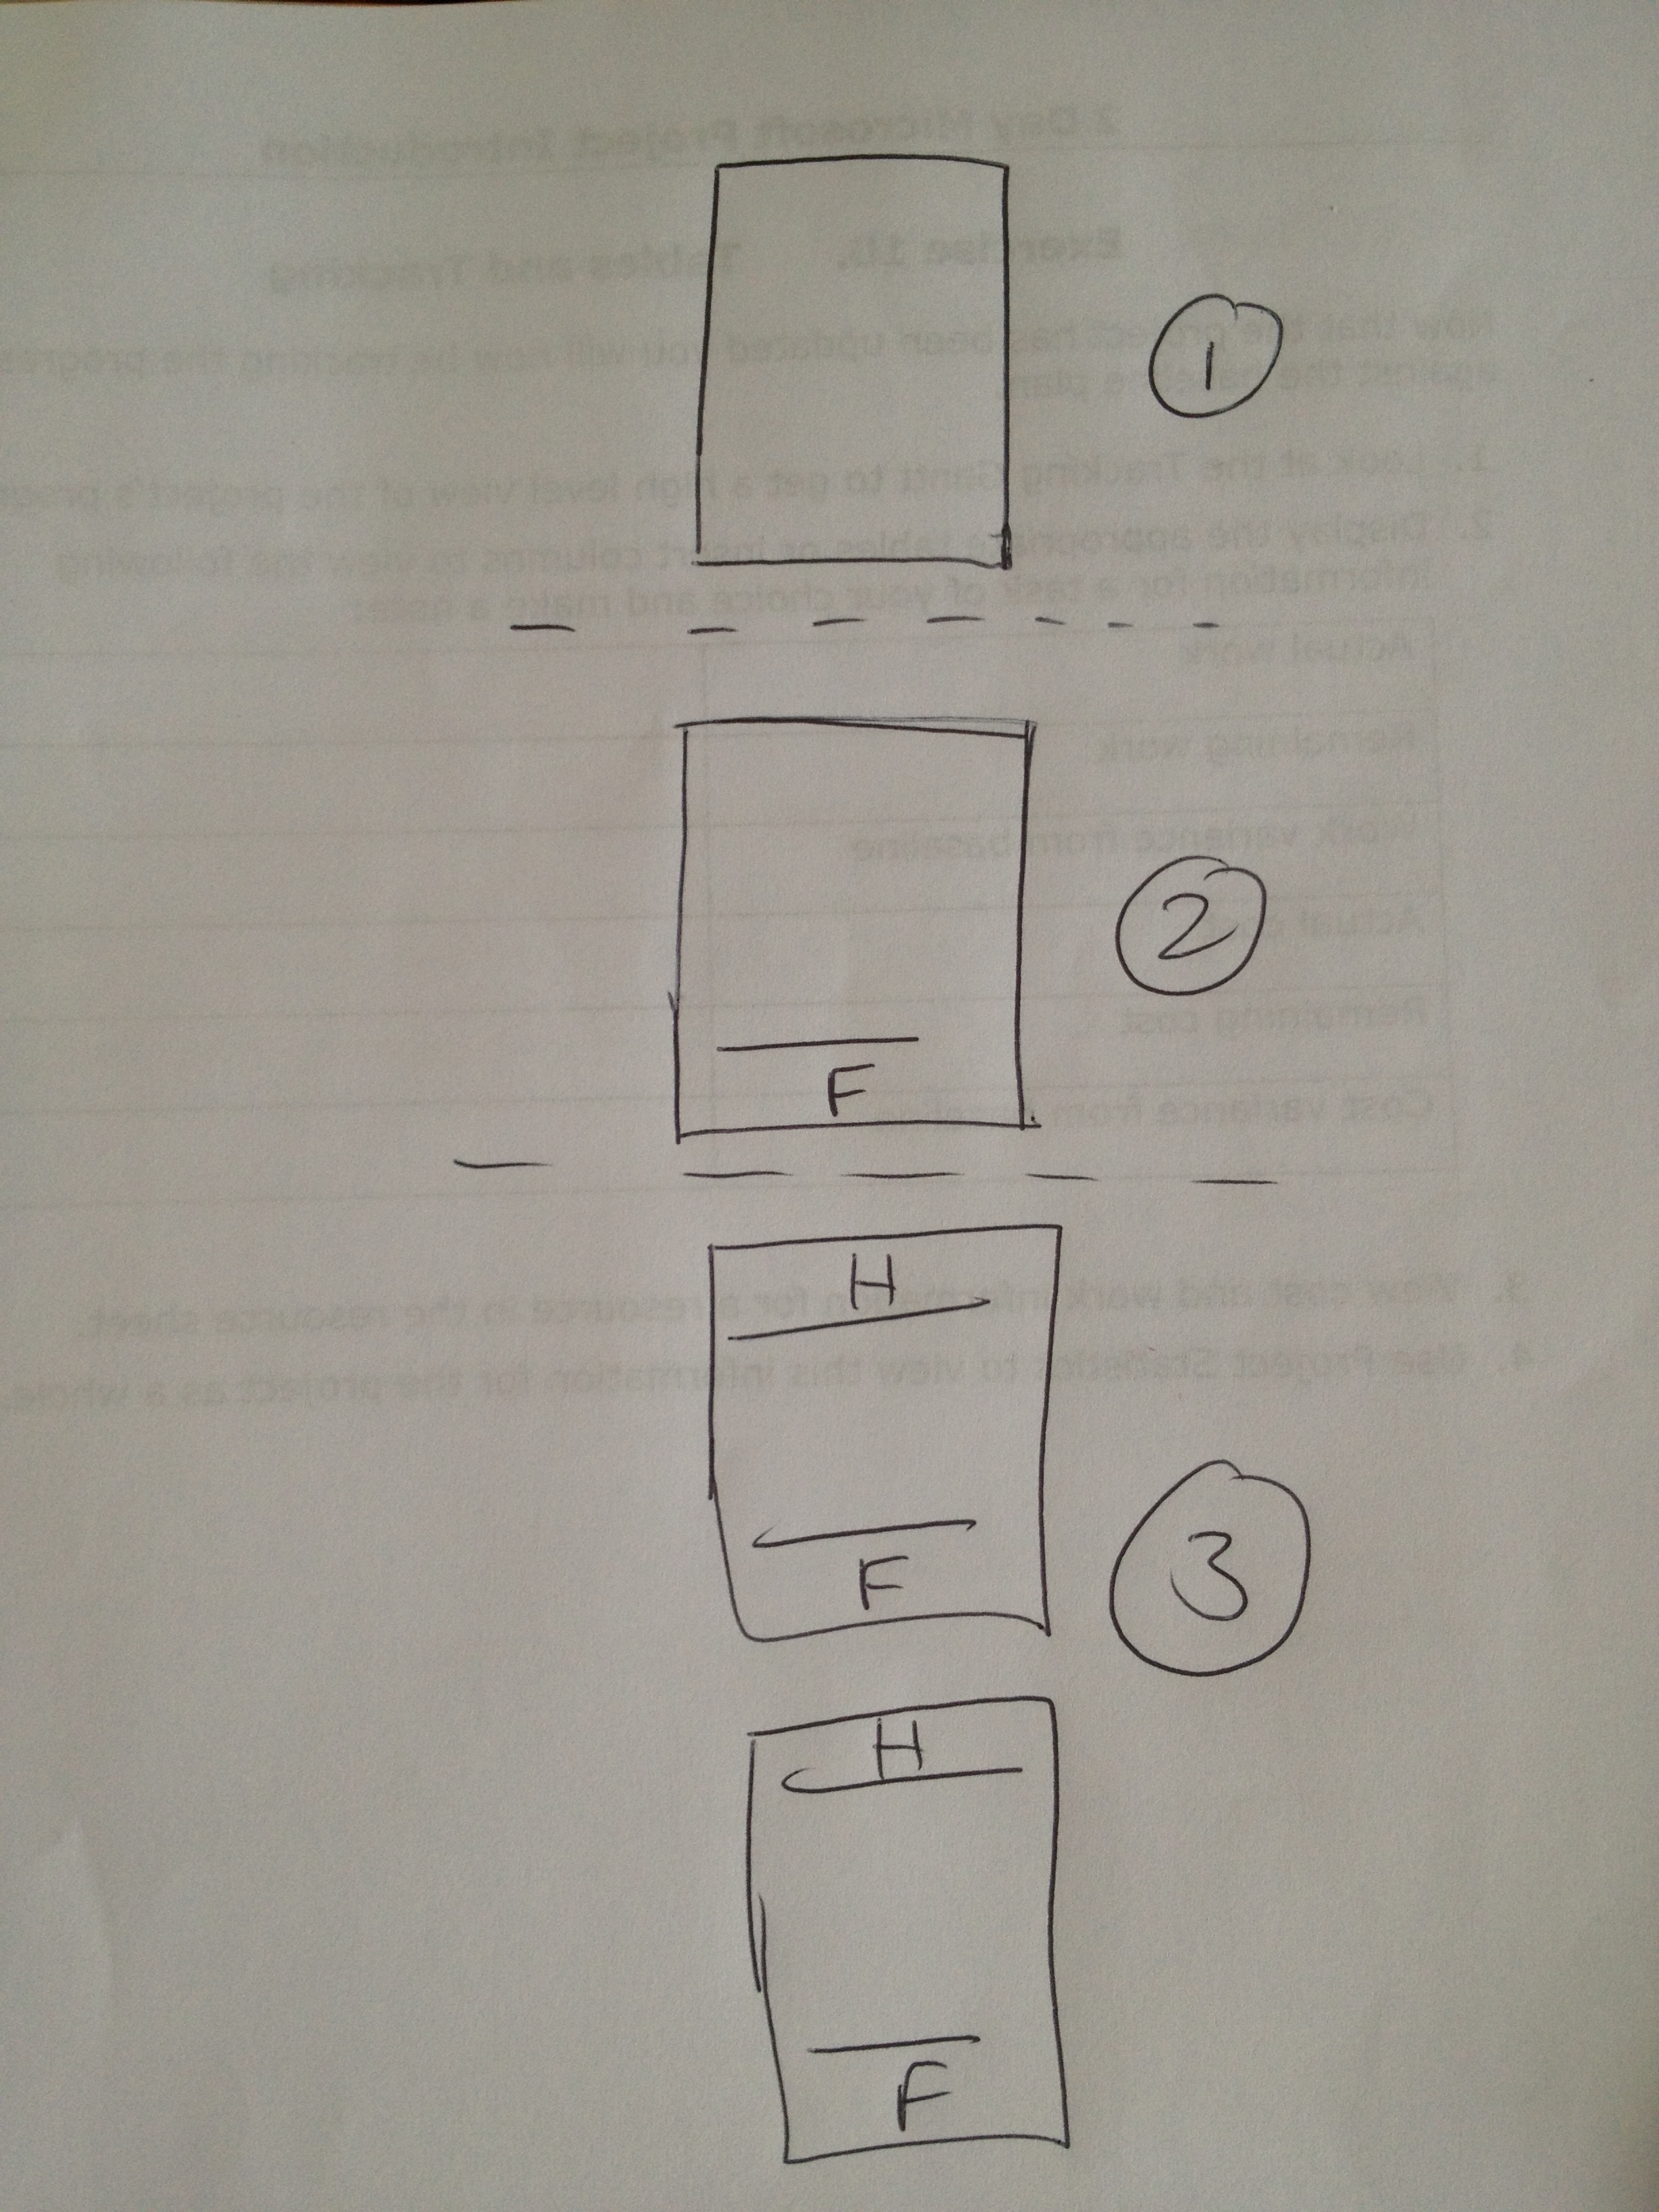
- Sketch out on paper (I know…how old fashioned, but believe me, it does help!) each page, where the section breaks need to go, number the sections and whether you need a header and/or footer. Like this:
- Insert your section breaks where they need to go (draft view is helpful for this).
- Go into the header and/or footer area and working from the LAST section switching on/off Link to Previous.
- Once you have got the Link to Previous stage set up correctly, enter the header and footer as required.

Note: this guide is intended for use by those who already use Word and know how to insert section breaks and set headers and footers. Please get in touch if you need to learn about these features.