Written by Jane Hames
The Windows Snipping Tool for taking screen shots / screen grabs
I frequently need to take a screen shot / screen grab of just part of what is on my screen which I will then paste into a Word document or PowerPoint slide. My favourite tool for doing this is the Snipping Tool which comes free with Windows 7. Here’s how to use it.
- Open the window that you want to take a a screen grab from.
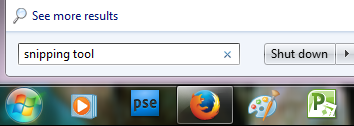
- From the Windows 7 start button search for snipping tool.

- Select Snipping Tool from the list.

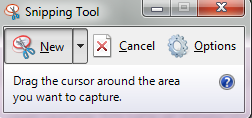
- The snipping tool will open and you will be able to click and drag to select the area of the screen you want.

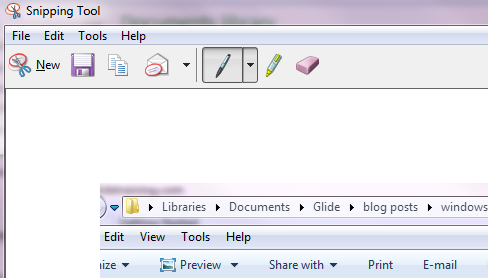
- If you want to save the snip as a image file, click on the save button and save it.

- If you want to paste it into a document or presentation, go to that file and click on the Paste button.
- To start another snip, retun to the snipping Tool and click on New.

